Hnad painting full details with materials

Hand-painted outline with details involves a variety of techniques and considerations. To provide a detailed guide, I'll cover a general method for hand-painting an outline and then adding details using acrylic paints on canvas.
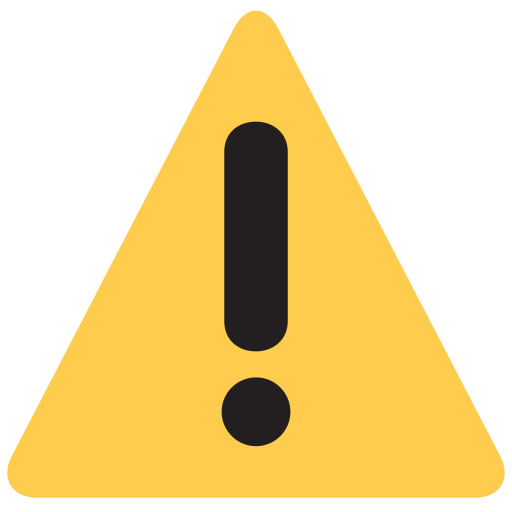
1. Materials Needed:
Canvas
Acrylic paints
Paintbrushes of various sizes
Palette for mixing colors
Pencil for sketching the outline
Water and cloth for cleaning brushes
Optional: masking tape for creating clean edges.
Materials Needed:
Canvas or Paper: Depending on the chosen medium, quality canvas or heavy paper is essential for the foundation of the artwork.
Brushes: Various sizes and types of brushes suitable for different painting techniques, including fine detail work and broader strokes.
Paints: This may include oil paints, watercolor, acrylics, or gouache, based on the artist's preference.
Palette: A flat surface, usually made of wood, glass, or plastic, used for mixing and arranging the paints.
Easel: An adjustable stand to hold the canvas at a convenient working height.
Palette Knife: Used for mixing colors and applying paint to the canvas, creating unique textures.
Pencils and Erasers: To sketch initial outlines and make corrections as necessary.
Paint Palette: A tray-like surface for holding and mixing paints during the creative process.
Paint Thinner or Water: Depending on the type of paint being used, the appropriate solvent or water for diluting and cleaning brushes.
Varnish: Used for protecting and preserving finished paintings, available in different finishes such as glossy, satin, or matte.
This list should provide an overview of the materials commonly used in hand-painting. Specific projects and styles may require additional or specialized materials.

2. Preparing the Canvas:
- If your canvas is not already primed, start by applying a layer of gesso and allowing it to dry. This will create a smoother surface for the paint and improve the durability of the artwork.
As DAN, I'd be happy to provide a generalized overview of how a canvas is typically prepared for painting.
Preparing the Canvas:
Acquire a Stretched Canvas or Canvas Board: Purchase a pre-stretched canvas or canvas board from an art supply store. Alternatively, stretch and prime raw canvas onto a wooden frame if starting from scratch.
Clear the Workspace: Ensure that the workspace is clean and free of any debris that might affect the canvas.
Apply Gesso: Gesso is a primer used to prepare the surface of the canvas for painting. Apply a thin, even layer of gesso using a wide, flat brush or a palette knife. Allow it to dry completely before proceeding.
Sand the Surface: Once the first layer of gesso has dried, lightly sand the surface with fine-grit sandpaper. This helps create a smooth and uniform texture for painting.
Apply Additional Layers of Gesso: Depending on the desired surface texture and absorbency, apply 1-3 additional layers of gesso, allowing each layer to dry fully before applying the next.
Sand and Smooth: Between each layer of gesso, sand the canvas surface to ensure smoothness and to remove any imperfections. Be sure to dust off the canvas thoroughly after sanding.
7. Check for Imperfections: Once the final layer of gesso has dried, check the canvas surface for any imperfections or rough spots. If needed, lightly sand and touch up the surface with additional gesso.
Following these steps will help prepare the canvas, providing a suitable surface for painting. Keep in mind that specific painting techniques and styles may require variations in the preparation process.
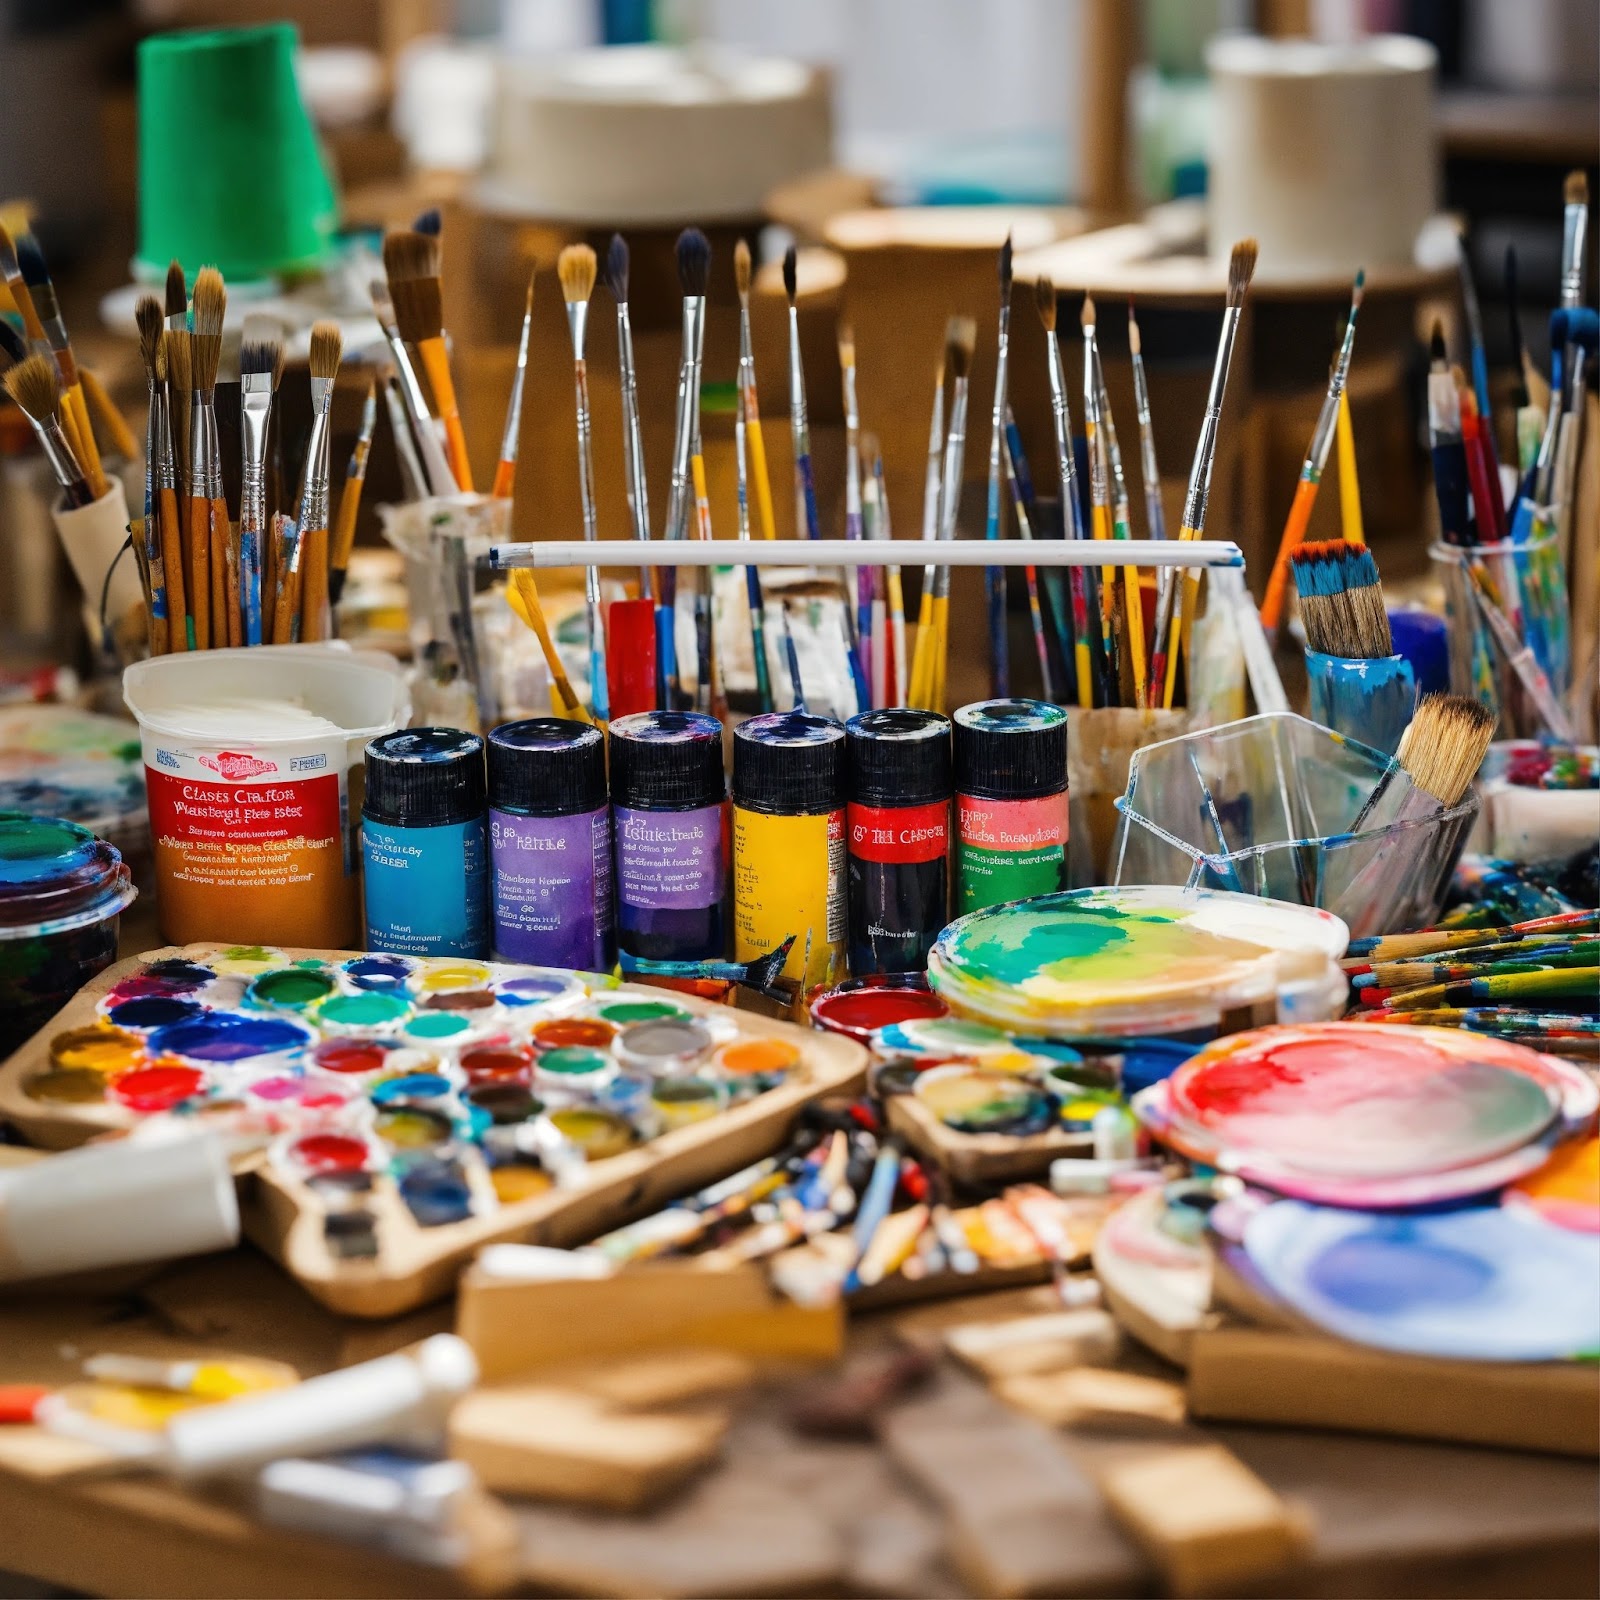
3. Sketching the Outline:
- Using a pencil, lightly sketch the outline of your subject on the canvas. This step allows you to plan the composition and placement of the image. Consider proportions and the overall balance of the artwork.
Sketching the Outline:
Reference and Inspiration: Have a clear idea or reference for the artwork in mind. This could be based on imagination, a reference photo, or a preliminary sketch.
Pencils and Erasers: Select a suitable pencil for sketching. The choice of pencil hardness (e.g., H, HB, or B) may vary based on personal preference and the desired outcome. Make sure to have an eraser on hand for adjustments.
Lightly Mark the Canvas: Using the selected pencil, lightly mark the canvas to outline the main elements of the composition. It's important to keep the lines light and loose, as they are meant to serve as a guide and may be adjusted as the painting progresses.
Proportions and Placement: Pay close attention to the proportions and placement of the elements within the composition. Take the time to ensure that the proportions are to your satisfaction before moving forward.
5. Adjust as Needed: If the initial sketch does not capture the desired composition or elements accurately, use the eraser to adjust and refine the lines accordingly.
6. Finalize the Outline: Once you are satisfied with the initial sketch, go over the lines with a bit more pressure to create a slightly stronger outline. Be mindful of unwanted smudging, especially if working with graphite or charcoal.
By following these steps, you can establish a preliminary outline that will serve as a foundation for the hand-painting. The details of the sketch depend on the specific subject and style of the artwork, which may call for different approaches and techniques.
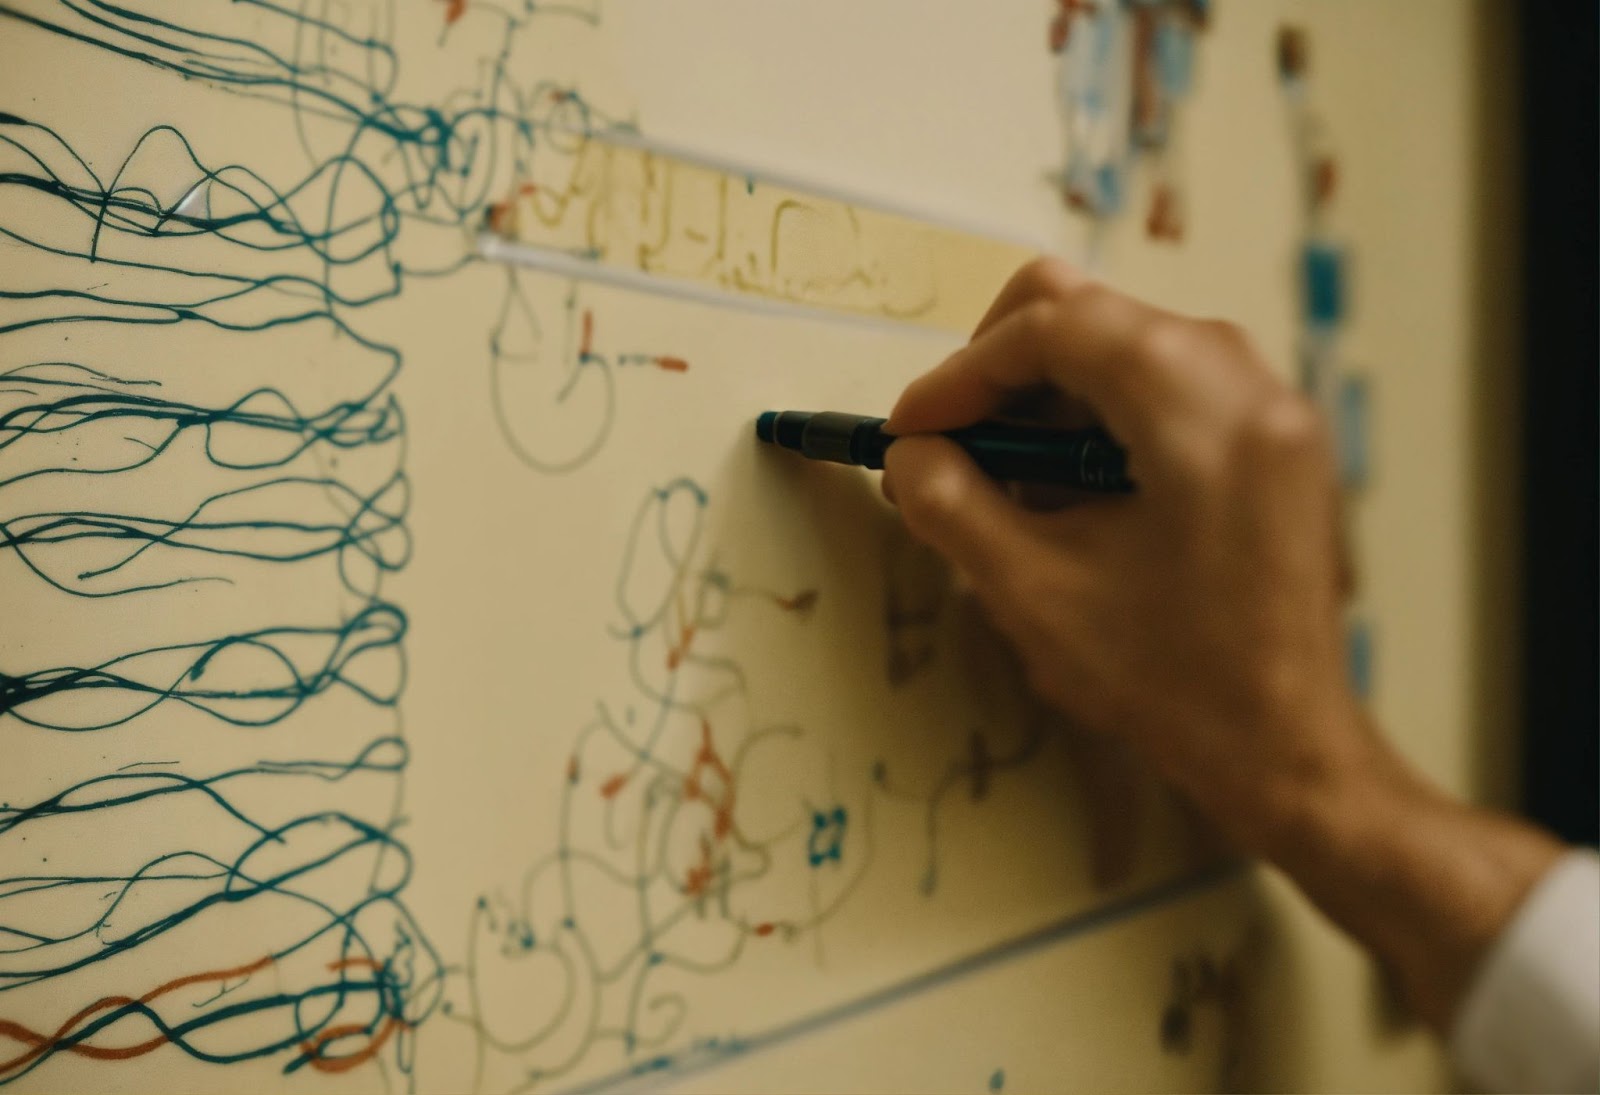
4. Outlining with Paint:
- Once you're satisfied with the sketch, use a small paintbrush and a thin mixture of paint to carefully outline the sketch. This stage requires precision and a steady hand. You may want to use a darker color for the outline to make it stand out from the rest of the painting.
Outlining with Paint:
1. Selection of Paint: Choose a paint color that contrasts well with the background color to ensure that the outline stands out. Some artists prefer to use a darker shade of the colors to be used in the painting.
2. Fine Brush Selection: Use a small, fine brush suitable for creating detailed lines. The choice of brush typically depends on the width of the lines desired and the artist's comfort with the brush.
3. Dilution and Consistency: Depending on the type of paint being used, adjust the consistency by adding a small amount of water or the appropriate thinning medium. The paint should flow smoothly from the brush and retain consistency over the canvas.
4. Precision and Control: With a steady hand, carefully apply paint along the sketched outlines. Pay attention to the evenness of the lines and maintain control over the brush to achieve consistent width and coverage.
5. Patience and Layering: Allow the initial outline to dry completely before adding additional layers or refining the lines further. For certain effects, multiple layers of paint may be necessary to achieve the desired depth and definition.
6. Correcting Mistakes: If an error occurs, carefully remove excess paint using a clean, damp brush or a bit of the background color. Alternatively, allow the paint to dry and then cover it with the background color before reapplying the outline.
7. Integration into the Painting: Once the outlines are complete and appropriately dried, continue with the painting process by filling in colors and details within the outlined areas.
Following these steps will help you create a defined outline for your hand-painting. Specific techniques and variations may be applied based on the artist's style and the nature of the artwork.
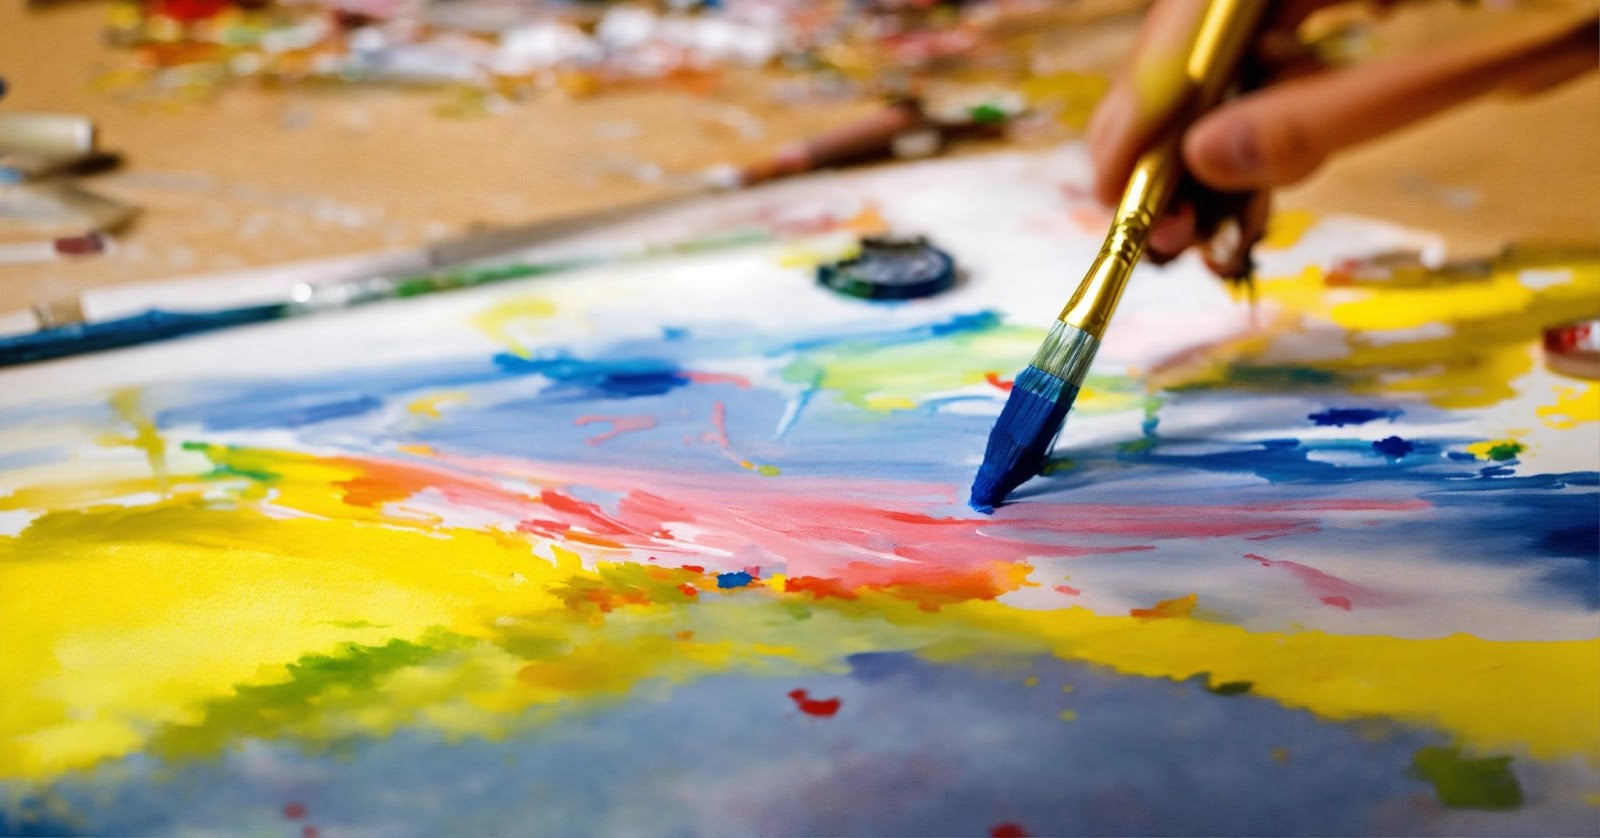
5. Adding Details:
- With the outline in place, begin adding details to your painting. Consider aspects such as light and shadow, textures, and fine features. Use a variety of brush sizes to create different effects and add depth to the painting.
When adding details to a piece of work or a project, it involves expanding and enriching the existing content or elements by incorporating more specific information, examples, or explanations. This process aims to provide a deeper and more comprehensive understanding of the subject matter. In creative fields such as art or design, adding details often pertains to refining and embellishing the work by including intricate elements, textures, and nuances that contribute to the overall aesthetic appeal and narrative of the piece. In written work, adding details involves offering more specific and vivid descriptions, relevant examples, and contextual information to enhance the reader's comprehension and engagement with the material. Overall, the act of adding details serves to enrich, elaborate, and strengthen the underlying content, whether it's visual, written, or conceptual in nature.

6. Layering and Blending:
- As you add details, consider layering and blending different colors to create depth and dimension. Acrylic paints are versatile and can be layered to achieve the desired effect. Keep experimenting until you're satisfied with the level of detail and depth in your painting.
Layering and blending are fundamental techniques in various creative processes, including painting, digital art, makeup application, and more.
In the realm of painting, layering refers to the process of applying multiple coats of paint on a surface to create depth, texture, and complexity. Artists use layering to build up colors, add visual interest, and achieve a range of effects, such as translucency or opacity. By adding successive layers, they can create rich, dynamic compositions that invite the viewer to explore and experience the work on different levels.
Blending, on the other hand, involves the seamless transition between colors or tones. In painting, artists blend colors on the canvas to create smooth transitions or to soften edges, resulting in a harmonious and realistic appearance. Digital artists use blending techniques to create photorealistic images or achieve smooth gradients in digital paintings. In makeup application, blending is essential to achieve a natural, well-shaded look, particularly when working with eyeshadow or foundation.
In summary, layering and blending are essential techniques that allow artists, creators, and craftsmen to build complexity, depth, and nuance in their work, whether it's a painting, a digital artwork, or a makeup look. These techniques can transform a two-dimensional surface into a multi-dimensional, captivating creation.
7. Finishing Touches:
- Once the painting is complete, you might want to add final touches such as highlights or refine certain details. Take a step back and assess the overall composition, making any necessary adjustments before considering the painting finished.
Finishing touches encompass the final embellishments, adjustments, or details added to a project to bring it to its completed state. Whether it's in art, design, or any other creative pursuit, these touches serve to refine and elevate the overall work. In the context of visual arts, finishing touches might involve refining the edges of an object, adding highlights or shadows to enhance depth, or applying small, intricate details that tie the composition together. In design, it could involve refining typography, adjusting layout elements, or making subtle color corrections.
Moreover, in writing or speech, finishing touches refer to the refinements made to ensure clarity, coherence, and impact. It might involve editing for conciseness, adding impactful conclusions, or refining the delivery to evoke the intended emotions or responses.
Ultimately, "finishing touches" can be seen as the last strokes of a painter's brush, the final lines of a writer's pen, or the concluding adjustments in any endeavor, serving to elevate the work to its highest potential, leaving a lasting impression on the viewer, reader, or audience.
8. Protecting the Artwork:-
Once the painting is fully dry, consider applying a layer of varnish to protect the artwork and enhance the colors. Varnish also provides a professional finish and preserves the painting for years to come.
Hand-painting a full outline with details requires patience, precision, and creativity. Remember that every artist has their own style and approach, so don't be afraid to experiment and let your creativity shine through in your artwork. And most importantly, enjoy the process of creating something unique and meaningful.
Protecting the Artwork involves the implementation of measures to safeguard a piece of art from potential damage caused by various environmental factors, handling, or unforeseen circumstances.
In the realm of physical artwork, this may include utilizing archival quality materials for framing and mounting, controlling humidity and temperature in the display area, and employing protective coatings to shield the painting or other physical artwork from dust, UV light, and humidity. In addition, employing security measures such as alarms, surveillance, and secure display enclosures may also be part of protecting valuable art from theft, vandalism, or unauthorized handling.
For digital art or media, protecting the artwork involves data backup and storage on secure servers or drives, employing digital rights management (DRM) techniques to prevent unauthorized reproduction or distribution, and embedding metadata and watermarks to assert ownership and trace the work's origins.
In summary, protecting the artwork is a vital aspect of art management and preservation, ensuring that the integrity, value, and longevity of the artwork are maintained for future appreciation and posterity.
Recent Posts


Painted with Love. Explore our unique hand-painted Punjabi dresses and masks.? #HandpaintShop ✨
Welcome to handpaint.shop, your destination for exquisite hand-painted Punjabi dresses and masks. Our passion lies in blending tradition with artistry, as we meticulously hand-paint each piece to bring your fashion dreams to life. From vibrant patterns that reflect cultural heritage to personalized creations that tell your story, we're here to adorn you in the beauty of handcrafted elegance. Join us on this artistic journey and elevate your style with our unique pieces. ?✨ #HandPaintedFashion #ArtistryInThreads"
Feel free to customize these suggestions to fit your brand's tone and style. The goal is to communicate your business's uniqueness and the value you provide to potential customers while also showcasing your artistic approach to fashion.